I'm getting a little behind on posting finished projects, my sewing space has officially moved out of the kitchen and into the spare bedroom. The ability to leave my mess untouched during the week when I'm away has improved my ability to jump right back in again on the weekend, leaving less time for blogging! I have a long table now with my sewing machine and serger, the iron/board right next to that, and my dear husband has a cutting table in the works for me. I think he really just wants exclusive use of the dining table for food-related purposes. Either way, yay for dedicated sewing infrastructure!
I bought some of this silk charmeuse a few weeks ago without a pattern in mind, but when I saw this J.Crew halter top I knew I had to knock it off. I used this kwik sew pattern as a quick jumping-off point, and one muslin later it was ready. I already want more of these, and potentially a dress length too.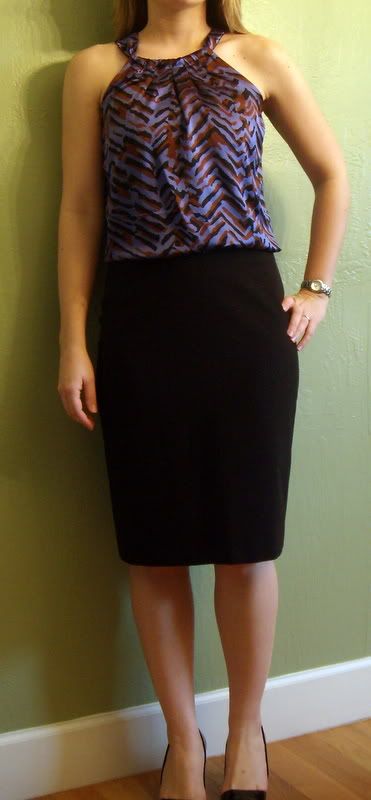
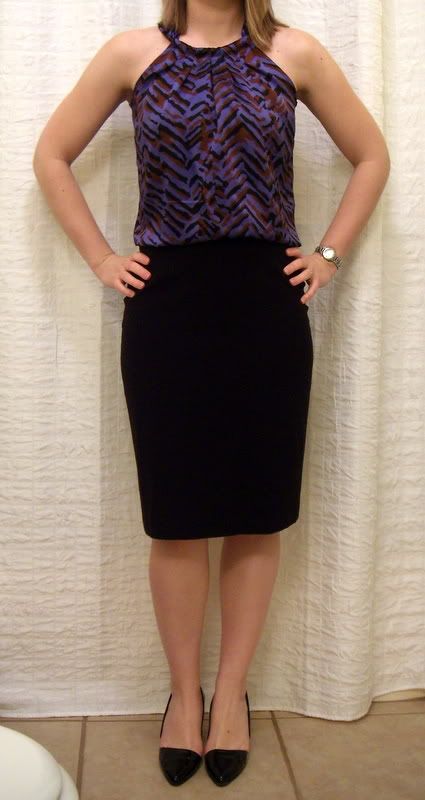
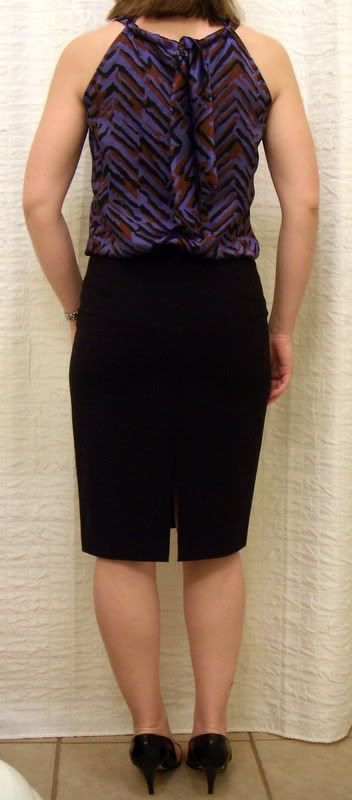
It's a halter style with a pleated front and a keyhole back, long ties form the straps and knot/tie in the back. You can adjust the neckline with the ties, or place the knot to the side if you want. Used french seams for the side seams, and self-fabric narrow bias binding turned to the inside for the armholes. The neckline is just turned and stitched down to form a casing for the tie. I made this one kind of long for tucking into low rise pants and jeans, but it would work in a shorter length untucked or much longer for a dress even.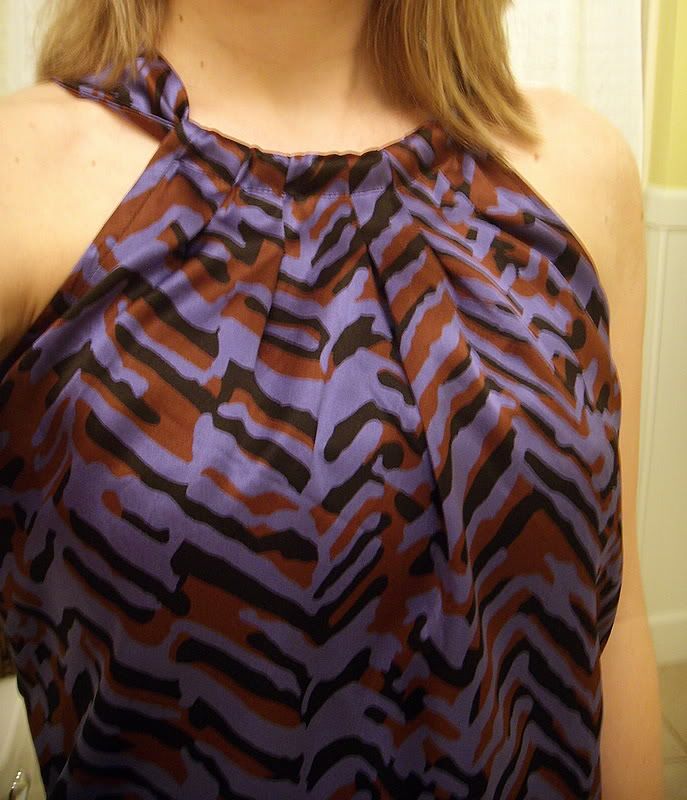
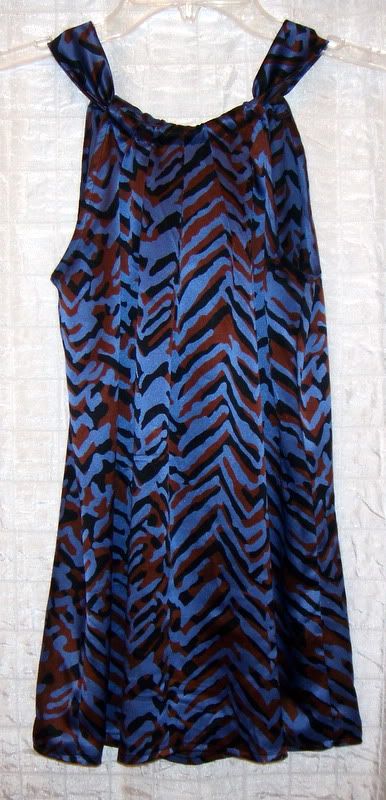
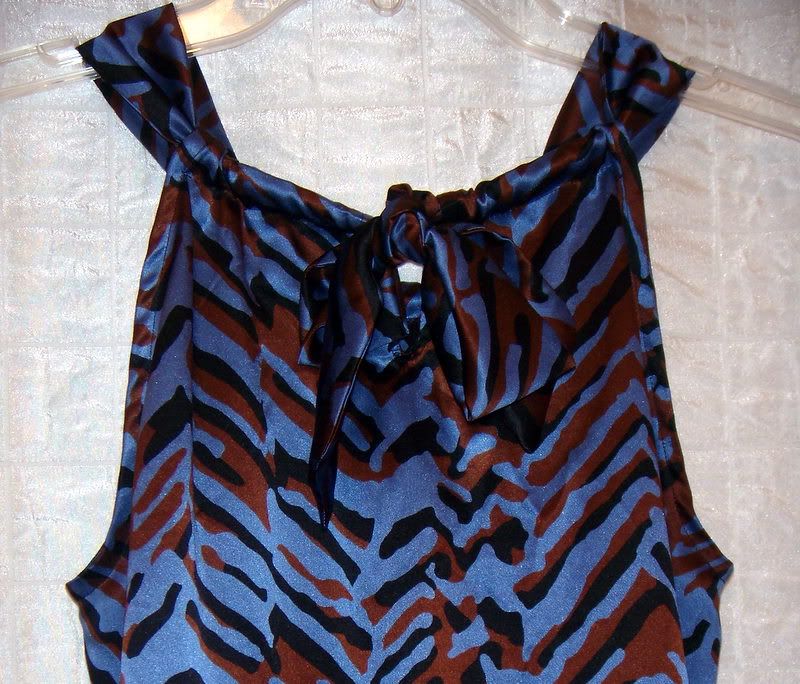
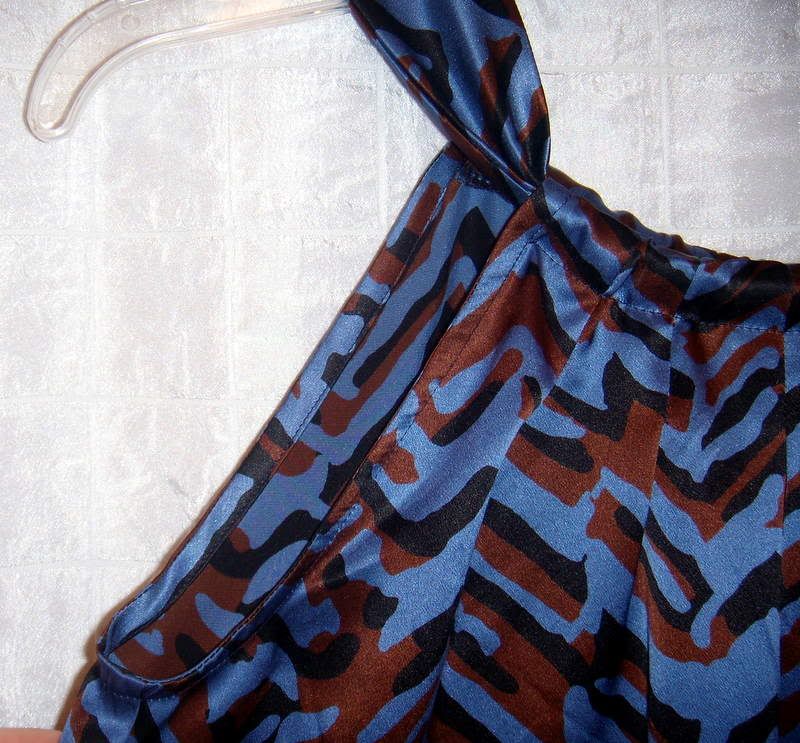
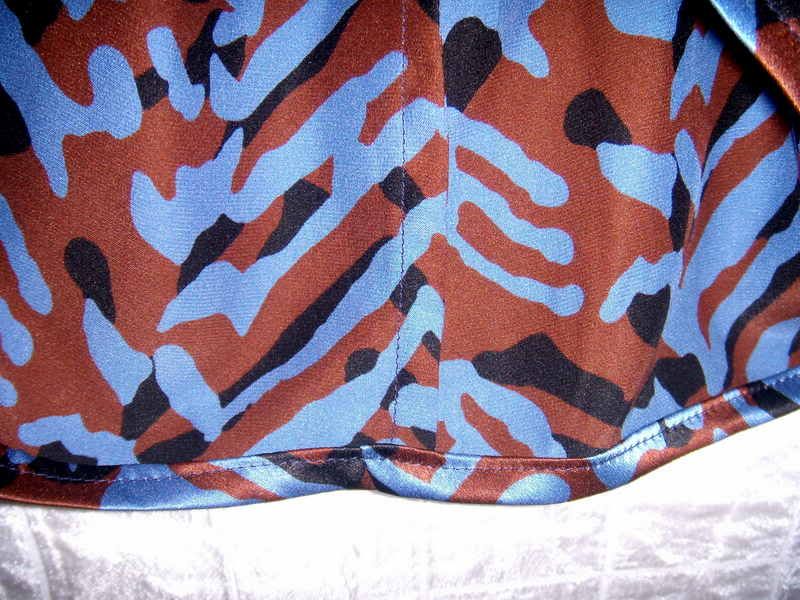
I'm thinking of making one of these in a dress length from that Milly silk I found at Hancock's! What do you think?
Monday, March 23, 2009
Weekend sewing update
Tuesday, March 10, 2009
Trench coat DONE
This project was starting to turn into the 'coat that didn't want to be finished'. I spent weeks looking for buttons, and when I finally tried to put them on 2 weeks ago my machine wouldn't make the buttonhole on the pocket flaps. It kept getting hung up on all the fabric where the flap attaches to the coat. I must have ripped out 15 tries between the two sides. Yes I did make a lot of samples, even trying to duplicate the layers, but the only time it wouldn't work was on the actual coat. I'm lucky I didn't wreck them in the process, this is some tough fabric!
After scouring the internet for help, I decided to bid on a vintage singer buttonholer on ebay. This one comes with 20 templates for making regular, keyhole, and bound buttonholes, plus an eyelet. It uses the zig zag stitch on your machine but moves the fabric around for you, and it had no problem with the pocket buttonhole. It doesn't look quite as nice as my Janome's keyholes, but it worked the first time. It might be an adjustment issue, but I couldn't seem to make the stitch length short enough to get a dense stitch and going around the template 3 times didn't give the same look. There's a lot of settings to play with, so I'm looking forward to seeing what other styles I can make. I used the eyelet template already on the belt buckle.
You can see my previous work on the trench coat here. I didn't make any fitting changes in the real thing, although I made a few style decisions. I added another row of buttons at the bottom, after wearing it around for a week I thought it needed them. However I must have forgotton to sew on one of the bottom buttons, I had placed it with wonder tape to get the position right and it seems to have fallen off before my photo shoot! I added some more topstitching in places, and I didn't care for the button flap that closes the collar stand. On real Burberry coats there is a metal hook, I may do that.
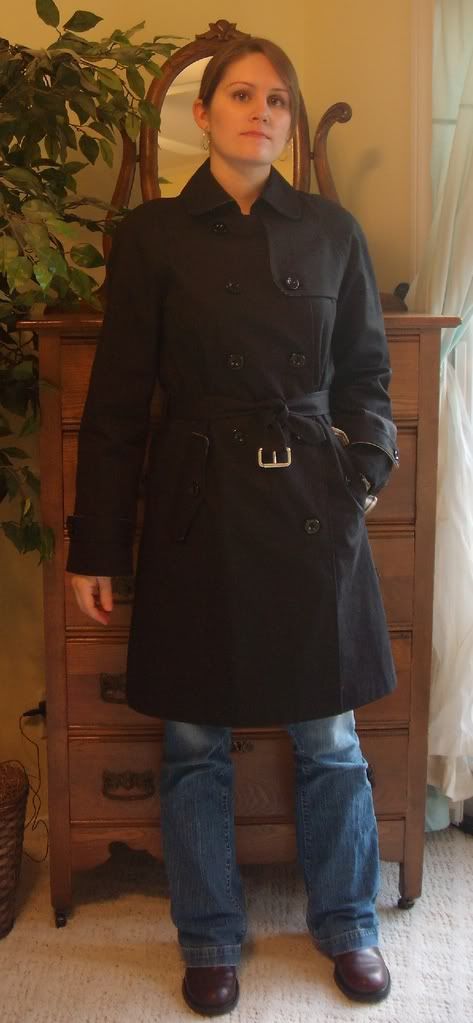
I've got the belt tied right now, I need to add eyelets and I can't decide if I want silver metal or black stitched.
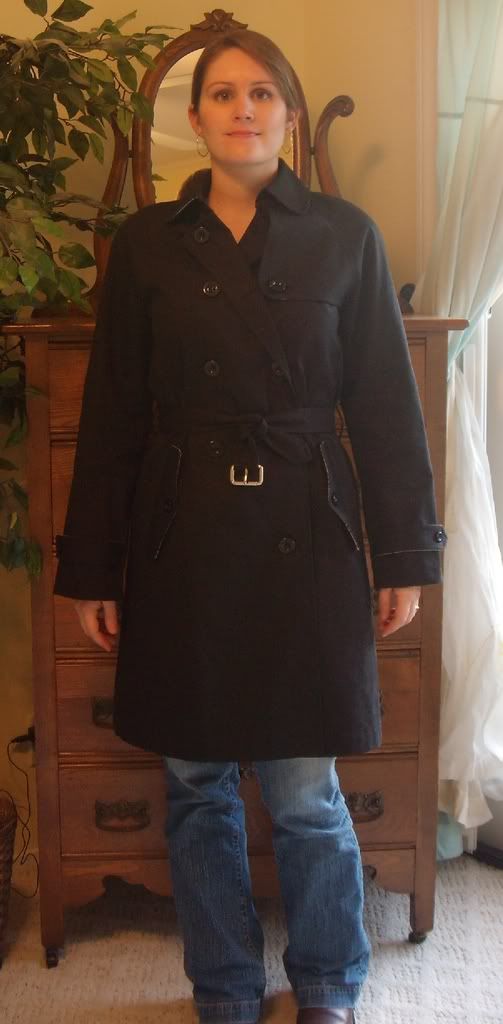


This was a looooong project but I love the results. I know I will have this coat for years and I'm glad I spent the time on all the little details. This was wonderful fabric to work with and now I'm wishing I had some in tan!
Thursday, March 5, 2009
The last seam ripper you'll ever buy
Maybe Gingher doesn't know how many seam rippers I go through because that's a pretty tall claim. I'm not sure if this is a new product or not but I hadn't run across it before. It's 6 inches long and has a retractable blade.
From Gingher's website:
Gingher's seam ripper features a razor edged cutting blade that safely retracts when not in use. The handle is ergonomically balanced to provide the user with fine cutting control in numerous positions. This tool is beautifully finished with chrome over nickel and comes in its own storage box. With proper use and care, the blade should last a lifetime and is covered by Gingher's guarantee.
It runs about $25 from several stores online and there are a few on ebay too. I've probably spent at least that much on cheapy plastic ones, and I toss them pretty regularly because there's not much I hate more than a dull seam ripper.
