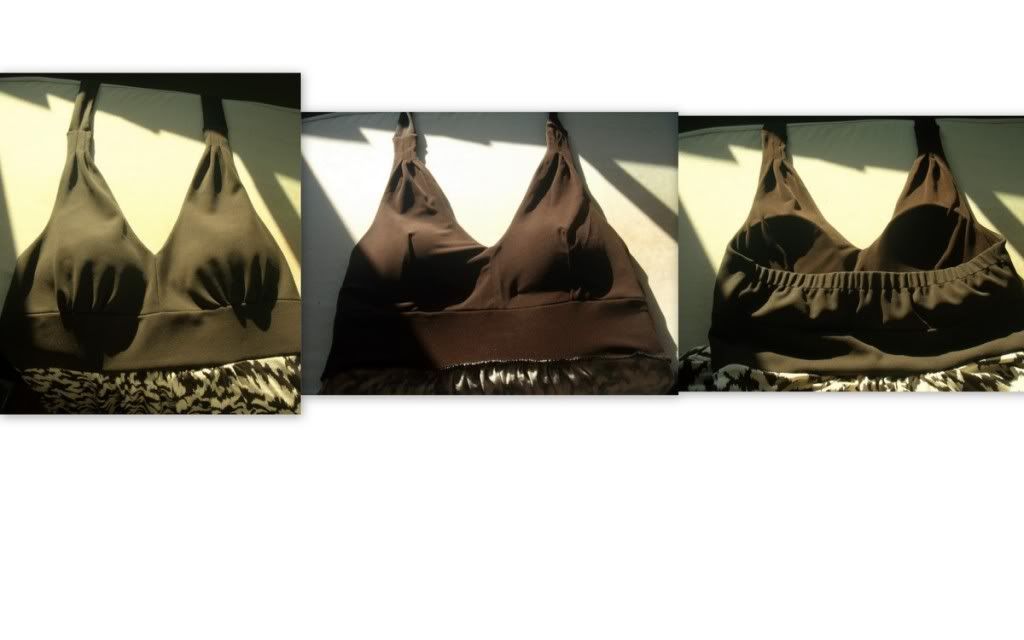
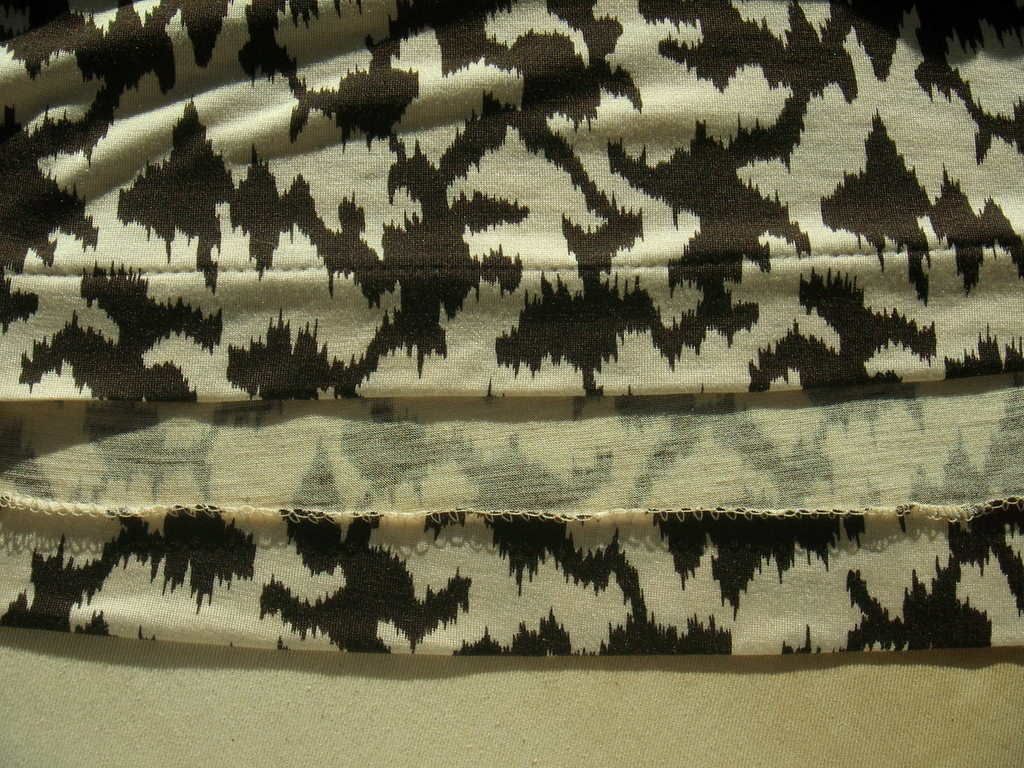
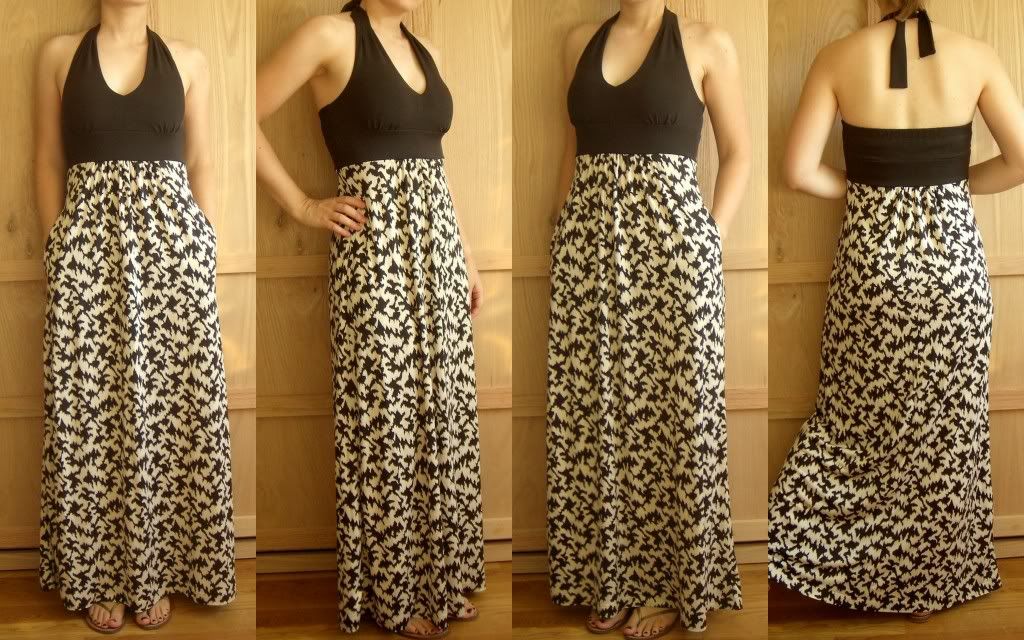
I'm still trying to get caught up with recent projects, this last weekend was quite productive so I'm starting there. :-) I've been wanting a maxi dress for at least 2 years now but never got around to buying/making one. After seeing Cidell's version of this Simplicity pattern (3503) I knew I had to make it up. I recently cleaned and reorganized my sewing room (need to take some pics of that too!) and went through all my fabric, and found a small piece of brown silk jersey, and a larger cut of a DVF brown/cream silk jersey print I bought at Britex in San Francisco with my sister that would be perfect for it.
I made the halter neck, long version, mostly in a size 8 but I had to make a lot of adjustments. I made a muslin first, and from that made the following:
-Narrowed the top back piece by 1/2" on each side (making it less than a size 6!)
-Narrowed the back band by the same amount
-Removed 3/4" from the bottom of the top back piece at the CB, tapering to nothing at the side seams
-Removed 1/2" from the back skirt at each side seam
-Narrowed the neckline and armholes by 1/8" on the lining pieces
-Added a top back lining, used wider elastic in the back and sewed a seam between the fabric and lining for a casing
-Raised the pockets by 1" (they were oddly low)
-Added bra cups inside the lining
-Darted the lining instead of gathering like the outer fabric
-Interfaced all the solid top pieces of brown silk jersey with pro-sheer elegance from Sew Exciting
I wasn't planning on fully interfacing the top, but after fusing a test piece I was loving the way it looked. It just made it look expensive. LOL
I made some changes to the construction order, in general I sewed all the front pieces together, then all the back pieces, and finally joined them at the side seams. This made it easier to adjust the side seams in one go if I needed to. Once I was happy with the top, I serged the skirt on following the instructions. I understitched the lining around the neckline and armholes to keep it from peeking out.
I didn't have enough brown silk jersey to do a self lining, and I also didn't have any thin foam bra cups in my stash. I solved both these problems by buying a clearance dress at Ross for $11, it was made of a decent quality poly and had bra cups in it. I cut it apart, and got almost a couple yards of fabric from the skirt, and some great bra cups. Sometimes the fabric store is not the only place to get supplies!
And finally, I have to thank DH for pinning the hem for me. I was having a hard time getting it just above the floor, so I talked him into helping me. I had to stand there for close to a half an hour, but boy is it even! He did a good job. :-) I did my usual not-so-blind hem finish on the serger.
Wednesday, September 16, 2009
Simplicity maxi dress
Tuesday, September 15, 2009
Can you handle another Simplicity cardiwrap?
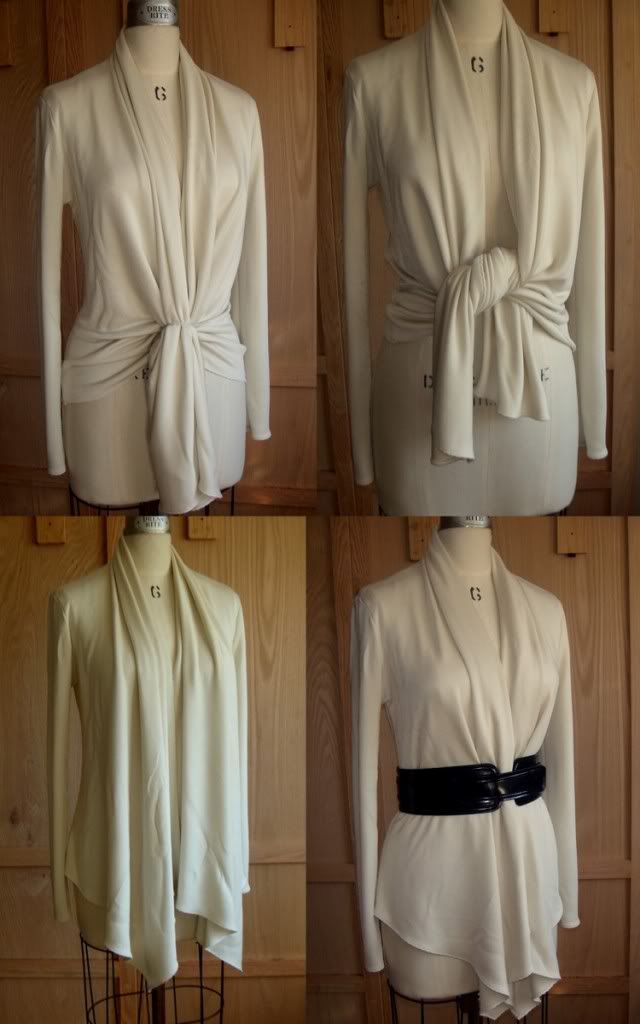
Jumping on the bandwagon, I decided to make a cardiwrap from some Carolina Herrera heavyweight viscose sweater knit I got from Emma One Sock. I bought this fabric back in February, with some type of wrap in mind so after seeing all the great versions lately (love Christina's!) I decided it was time to cut into it. This fabric is super drapey, medium-heavyweight, with a distinct knit stitch to it, and a nice sheen to the ivory color. I made a muslin from some thin rayon jersey first, and decided it would work with the weight of this fabric. What I didn't think about was the slippery-ness of it! It is so fluid and smooth when I throw it over my shoulder it falls right off. LOL Fortunately it will hold a knot, so I can tie it in the front or tie the two corners together and put it behind my neck (forgot to take a pic of that one). But my favorites for this fabric are definitely loose as is and with a belt.
I think this pattern (Simplicity 2603) is great for the overall stylelines, the shape of the front pieces and the gathered neckline are fantastic. However when I was comparing the sleeve and armhole shapes to my TNT self drafted patterns for my knit wrap dresses, the Simplicity pieces were terrible. The sleeve cap was way too short and had way too much ease. I prefer a higher cap with stable knits, I think it lays better. I used a size XS here because, surprise, Simplicity had an inch or so of ease in the bust for a KNIT pattern. I usually use negative ease for knits, and I wanted it to fit snugly, so I sized down. I completely scrapped their sleeve pattern, and traced my own armhole onto the Simplicity pieces. I had to add to the back neckline seam to get all the seamlines to match up, but the shoulder seams were already pretty close to the right length so it wasn't too hard. I also made a full-length sleeve, it hangs to about the top of my thumb. It's so much easier to take pics on the dressform, but my shoulders are actually a tad wider and it looks better with the arm filled out. This is view C, the shorter length front.
I had a hard time trying to figure out how to finish the raw edges, most people have been making this from jerseys that can be left raw as they don't fray. This fabric doesn't necessarily fray, but it does get a bit fuzzy looking, especially after being tied and stretched. I experimented with a bunch of finishes, including several on my serger. All of them were giving me a lettuce edge effect which I didn't want for this. Finally I tried a shell stitch on my sewing machine, and it looked great and had the elasticity and recovery I needed. I was practicing on scraps first, and was a little worried that it would look old-fashioned on the actual garment, but I just love how it looks.
I think it adds something very special to an amazing fabric and a great style. It was easy to do as well, I used my blind hem foot to help me turn under an accurate 1/4" of fabric as I went, no pressing involved. I did all the edges before putting it together, I would definitely recommend this as it's much easier to do before you construct the neckline. The hems can be done after you serge the side seams. I also set the sleeves in flat, and stitched in the ditch at the neckline to secure the neck piece and cover the elastic.
Oh and want a tip for using a decorative stitch, or any stitch really, on a hem? Before you try to stitch over those side seams, trim off a little bit of the seam allowance, fold it under and press with your iron, then take a hammer and pound it flat. Yes a hammer. I believe they sell 'sewing hammers' made of plastic, but I use a regular old hammer and it works just fine. You want to get the bulky side seam as flat as possible to make it easier for your machine to pass over the area, and believe me a hammer does a much better job than your iron. Try it. But watch your fingers. Not that I've ever whacked mine while trying to hold the fabric in place. :-) I forget where I heard this tip, but it was probably at Fashion Incubator. Thanks Kathleen.
Tuesday, August 25, 2009
A dress form and much-needed tank tops
I'm super excited about my latest craiglist acquisition, a Dress Rite professional dress form. I just picked her up last Thursday, for a great price and in almost new condition. She has collapsible shoulders, linen covering, thick padding, and is on a sturdy wheeled frame with fully adjustable height. I've had so much fun playing with her this weekend, draping fabric is a breeze on a form, and combining outfits is so much easier. It gives you a very objective look at whatever you are working on. She's a little smaller than me in the waist and hip, so I'll probably try a bit of padding if I want to use it strictly for my own garments. The shoulders and bust are actually really close, it was weird to see my own clothes on her! No name yet, but I am up for suggestions from the blog world. :-)
I've been trying to replace worn items in my closet, and of the 5 favorite tanks I have 3 of them have holes. I made a copy of the pattern (from RTW), which was super easy as its the same thing front and back. Of course the fit isn't 'perfect', but as long as you use a stretch knit it's fine. And the added benefit is you can craft two different necklines, and just wear it whichever way you are feeling that day. I like to make a higher and a lower one on the same top.
The first one I made is from a black bamboo rayon/lycra from Stonemountain Fabrics in Berkeley. I was inspired by this tank from J.Crew and decided to make my own. I cut 5/8" strips of fabric, gathered them using elastic thread in the bobbin, and sewed them to the tank spaced 1" apart. Knits don't fray so you don't have to finish them any other way. Then I bound the neckline and armholes using more strips (1 1/4"), sewing them right sides together while stretching the strip a bit, folding the strip to the inside, and topstitching from the right side catching the raw edge of the strip. I trimmed away the excess strip on the inside. This isn't my favorite way of doing binding but it works. I did all this on my home machine.
And I made another top from this same pattern, from some silk jersey I purchased in Portland at PR weekend. For this one I did the binding differently, this is my preferred method and the one I use on my wrap dresses. I use an industrial double fold binder that takes a 1" strip of fabric and creates a 1/4" binding along the edge. Then I turn the whole thing inside and topstitch. This was all done on my industrial machine. I really need to get around to doing a tutorial on this method. Maybe this weekend. :-)For hemming knits lately I've been super lazy and using my blind stitch foot on my serger. It's incredibly quick, and if you're not too picky about how invisible it is you don't have to mess with adjusting the foot to get it perfect. I have it set for doing thicker doubleknits, and on these thinner ones the thread is visible from the right side, but it's even and looks better than a topstitched hem.

Saturday, July 25, 2009
Back from vacation!
Just a quick update in case you were wondering where I was. First was the wedding we went to in Burlingame, CA at the Kohl Mansion, which was beautiful, gorgeous, and amazing. I was even able to snap some photos of my husband wearing his wool trousers I made for him. The cleaners did a fantastic job on my dress, the water stain came out and the pressing was amazing. However, I managed to get another stain on it at this wedding, so it's back at the cleaners now, hopefully they can work their magic again.

Kwik Sew 3267, in lightweight wool fully underlined in silk charmeuse. He hates back pockets, so I made single welts then sewed them shut and left off the pocket bags, and sewed on some buttons.

Then we left for a week long camping trip in northern Idaho with my husband's family. We camped in a tent trailer, rode quads, went tubing down the river, and just relaxed for a week. Minus the 30 or so mosquito bites, it was fantastic. Bonnie, our german shepherd, thoroughly enjoyed herself.

Tuesday, July 7, 2009
Remember this dress?
Well guess what, I have another wedding to go to this weekend. And I am embarrassed to say this dress has hung in my closet, dirty, since the wedding we went to last summer. With a crappy hem (the fabric, lining, and underlining were all double-folded up together, yikes!) and not quite perfect darts in the back. I meant to fix it so I could take it to the cleaners, but it just never happened.
Anyways, I pulled it out over the weekend and extended the darts in back, they stopped too high and there was a bubble right above the full part of my butt. I guess my ass hangs lower than I thought. Then I chopped a couple inches off the bottom, it was too long the first time, and hemmed it properly. I handstitched the fabric to the underlining, and used my rolled hem foot for the charmeuse lining. I slipstitched the lining down at the back vent and that was it.
The hem could do with a professional pressing, and you can't really see it but I hope those water spots on the skirt come out at the cleaners! Cross your fingers.
Darts are much better now. I'll need a smoother bra but overall the fit in the back is really nice.
Wednesday, July 1, 2009
Dinner at Cindy's
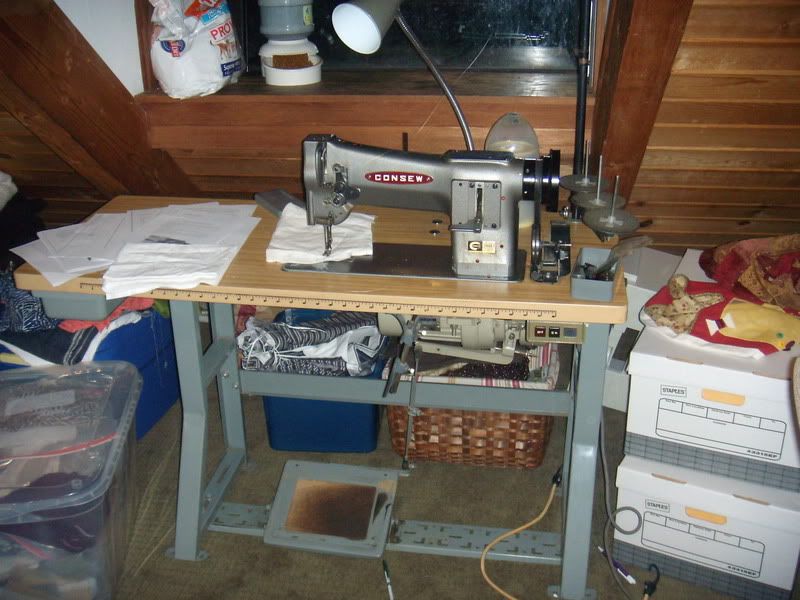
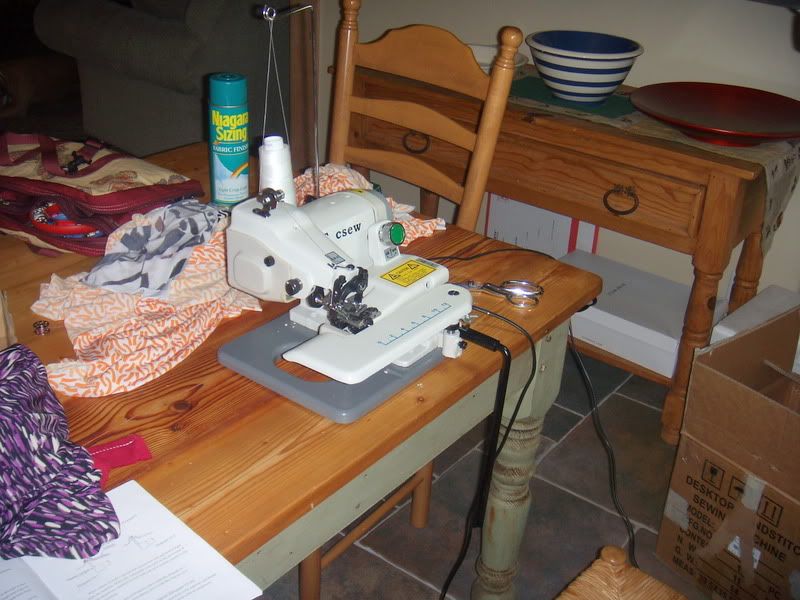
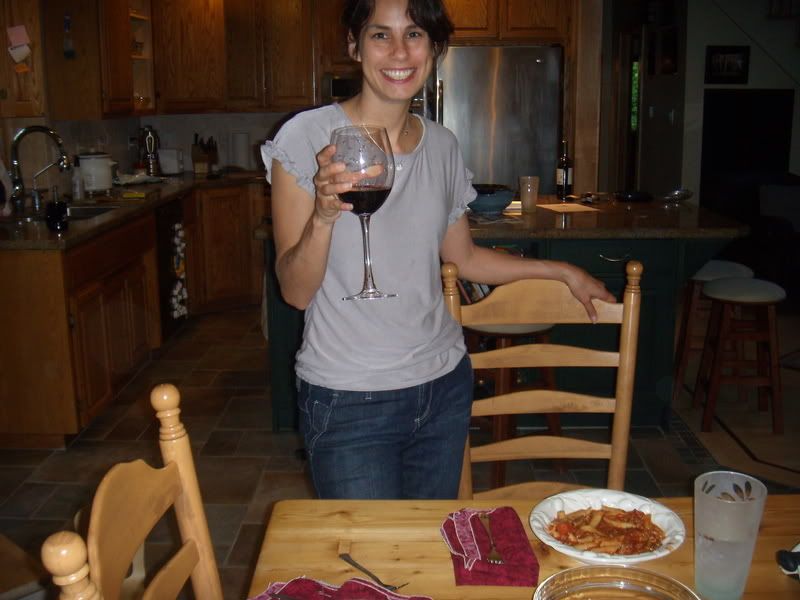
I've been discussing industrial machines for weeks with my friend Cindy (who I met at pattern review weekends in LA and Portland), and finally invited myself over to her house last night for dinner, machines, and sewing chat. We've been scouring craiglist for used deals, and while I decided on a Juki DDL, she wanted something that was made for heavier duty sewing. She found this Consew walking foot/needle feed combo a couple weeks ago and I think just picked it up last weekend. I got to see it in action last night through no less than 8 layers of denim, and we were both a little scared of the 'beast' after polishing off a bottle of wine.
The walking foot is what you would imagine, a 2-piece presser foot that feeds from the top as well as using the feed dogs on the bottom. But if you've never seen a needle feed before, it's pretty cool. The entire needle bar stabs through the fabric and moves front to back, taking the fabric with it, then raises after forming the stitch, and stabs the fabric again. If there was any chance at all of fabric layer slippage, this machine would eliminate it. The previous owner had made upholstry with it, and the needles it came with were HUGE. It was hard to believe the machine could punch that monster through that much fabric but it had no trouble.
Cindy's other new toy is this Tacsew T-500 blindstitcher, which she's had for a few weeks now and has had more time to play with. I'd never used one before so she pressed a hem into some scrap woven for me to try and it worked great! But then we both tried to figure out what the problem was when using knits, and neither of us could get it to work. The knit gets sucked up into the area where the stitch forms after a few stitches, and then doesn't want to feed out the back and gets caught between the feed dogs. We couldn't find any adjustment for foot pressure or feed dog height, so we're stumped as to why the knits won't feed properly.
Thank you Cindy for a fabulous evening and I hope we get to do it again soon!!!
Tuesday, June 23, 2009
An almost unfinished project and swayback
I started this dress last October, from some DVF wool doubleknit I purchased at Stonemountain and Daughter fabrics. I had just made a rayon knit version with fabric purchased during the same trip, and was fresh off a discussion on patternreview about swayback adjustments. One of the suggestions in the thread was this, and as I was quite excited about it at the time I modified my pattern and cut out my nice DVF fabric without even testing it in muslin.
This fix did not work for me. In the back of my mind I was wondering about forming diagonal wrinkles from the shoulder with this alteration but it seemed to work for the other ladies so I forged ahead. I still got fabric pooling in the small of my back, but I ended up with those wrinkles too. And on top of that, the original pattern I used was very plain, which looks great with print fabrics but was downright boring with a solid. I threw it into a pile for at least 3 months, tried it on again and decided it wasn't too bad to wear, and embellished it with some flap pockets, shoulder tabs, longer sleeves, and french cuffs. I wore it quite a bit during the last part of winter, and got a lot of compliments on it. 2 lessons here: always test out pattern alterations before cutting into your good fabric!; and don't be too hard on your 'wadders'. They are probably still better than RTW.
I really like the dress from the front, the pockets/tabs and cuffs help to wake up an otherwise plain dress, and the buttons were from a stash Cidell sent me. (Thank you!!) I didn't have patterns for these, I just constructed them from paper until I was happy with the sizes.
Here's what I don't like. The back of the print dress was pretty good, but there was definitely fabric pooling in the small of my back. The problem is too much length in the CB, not at the side seams. But with no CB or waistline seam, your options for removing it are kind of limited. The fix I tried above attempts to pull it up from the neckline, but as you can see it created diagonal wrinkles from the bottom of my armhole, in addition to not fixing the pool of fabric. I think I will go back to my old standby of darting the CB, laying it on the fold as best as you can, and taking a little out of the side seam. (Like what Marji was talking about in that thread on PR.)
But there's nothing wrong with using that belt to tuck some of the extra fabric under and wearing the heck out of it, right? :-)