I've been putting off attempting a coat, just thinking about the time and effort required was too daunting. However I own exactly one 'nice' coat, a 3/4 length J. Crew wool one, and my closet has been crying out for another one. Not that it gets too chilly here, but I do prefer the longer length in the winter time. The Burberry fabric I bought from Michael's fabrics about a year ago has been calling to me from my stash ever since, and with the almost two weeks I had off around Christmas and New Years I managed to choose a trench pattern, make a muslin, adjust it for fit, and construct most of the coat.
I was looking at two Patrones patterns, and this BWOF from 1/2008. I decided to go with the BWOF due to the raglan sleeves, the fabric is a thick two-sided cotton, and I didn't think set-in sleeves would ease very well.
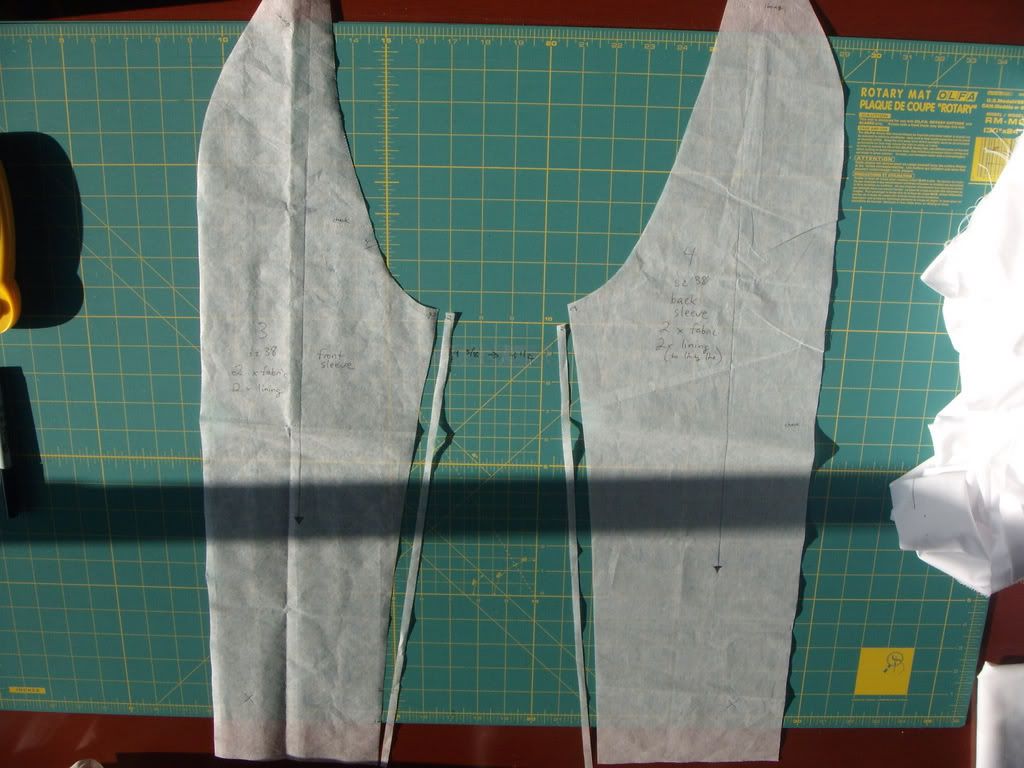
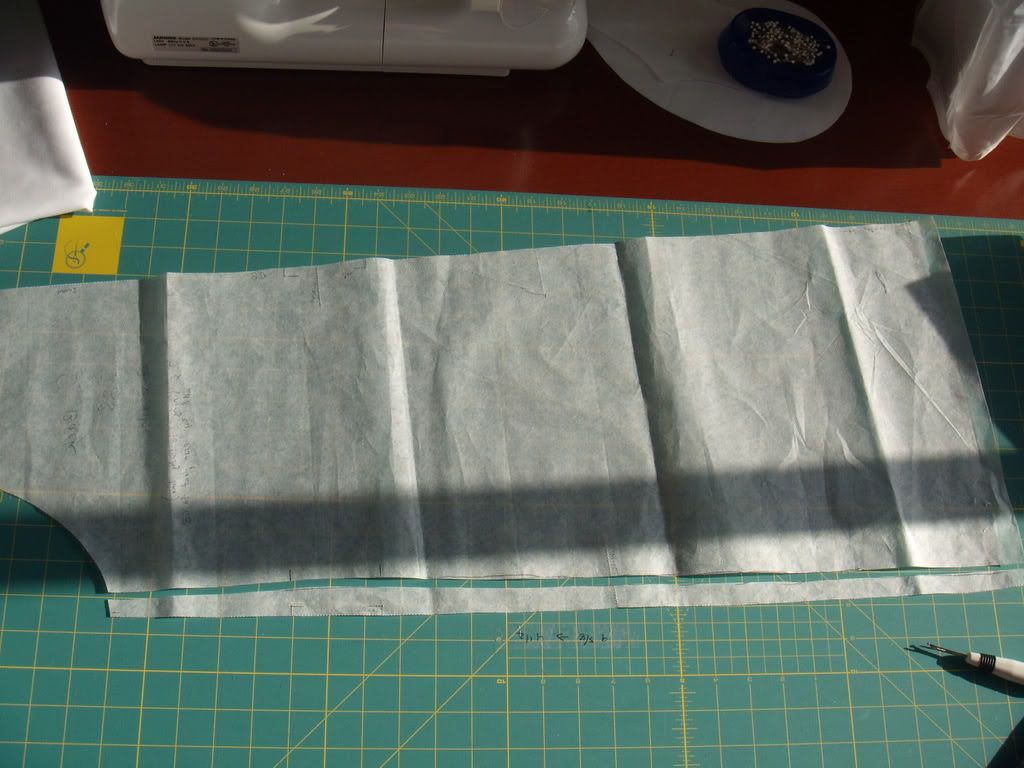
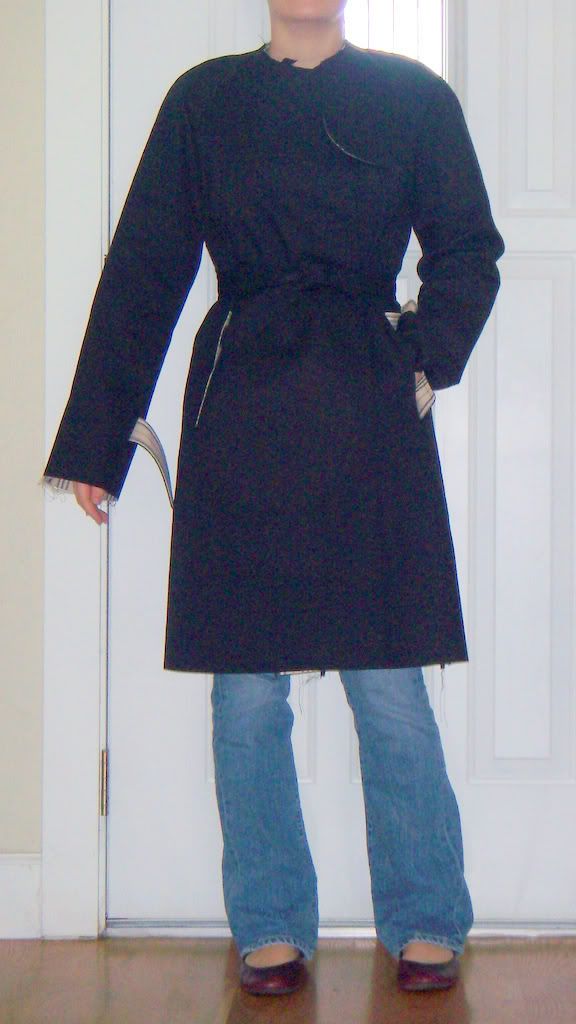
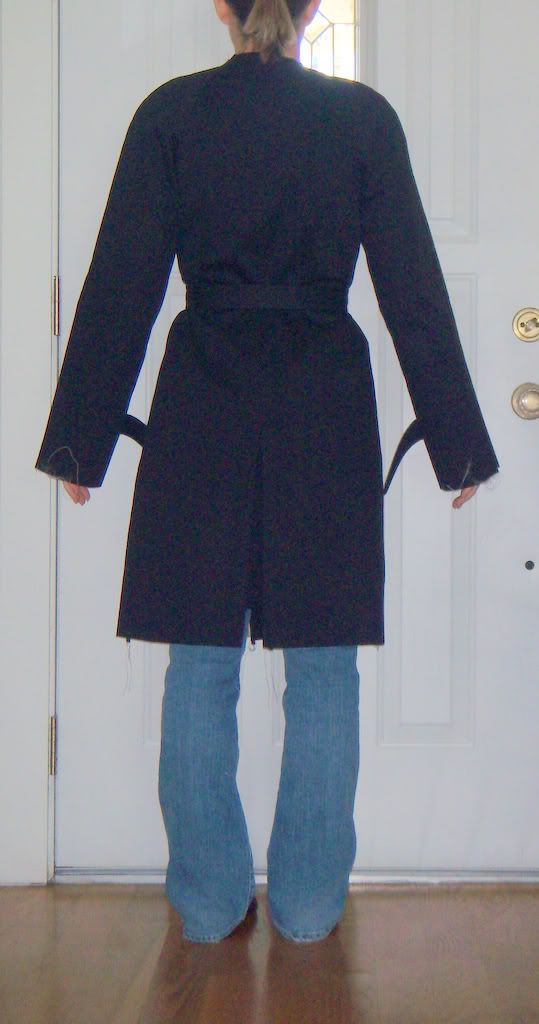
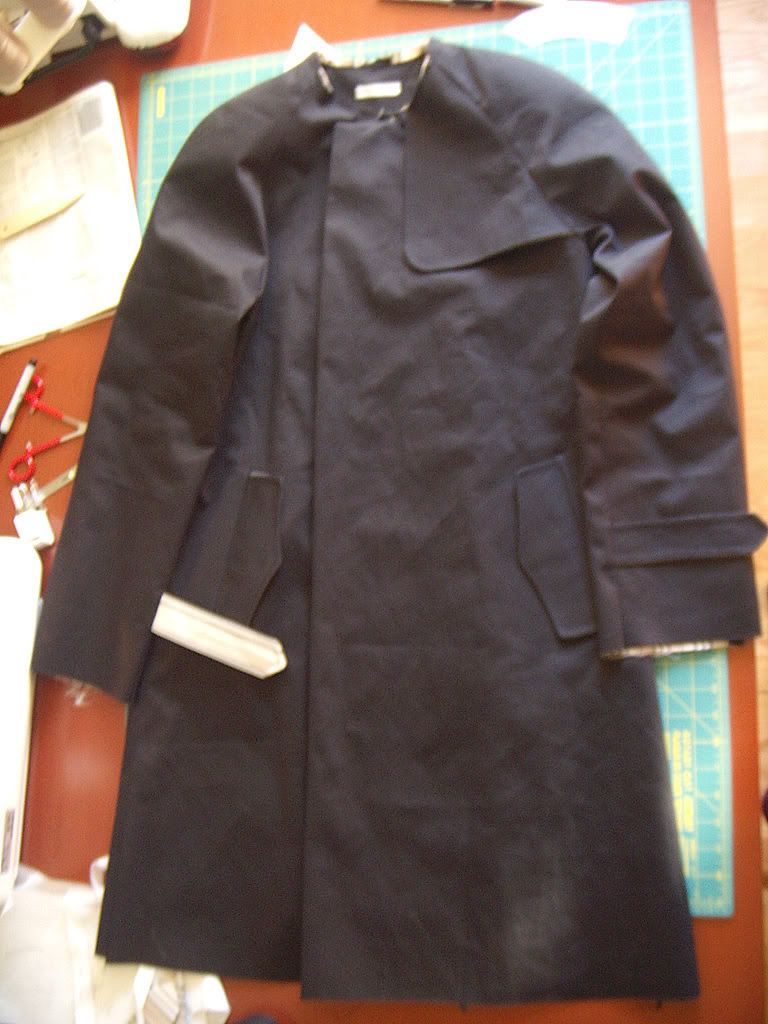
The line drawing is accurate in my opinion, it is very a-line without the belt and was too voluminous for my liking. With the belt it bunched up too much around my waist even in muslin, so I decided some of the width had to go. However everything else seemed to fit perfectly, the shoulders, bust, collar, and lengths. I thought the arms were a bit wide so I decreased there as well, but overall this was not much tweaking by my usual standards. And there was no gaping or seams not matching up like I usually deal with when using the Big 4. Very refreshing. I traced a 38, without adding seam allowances. I marked the seams on my fabric with chalk and added allowances before cutting. This made it easy to mark the seams at corners and other areas that tend to get mixed up.


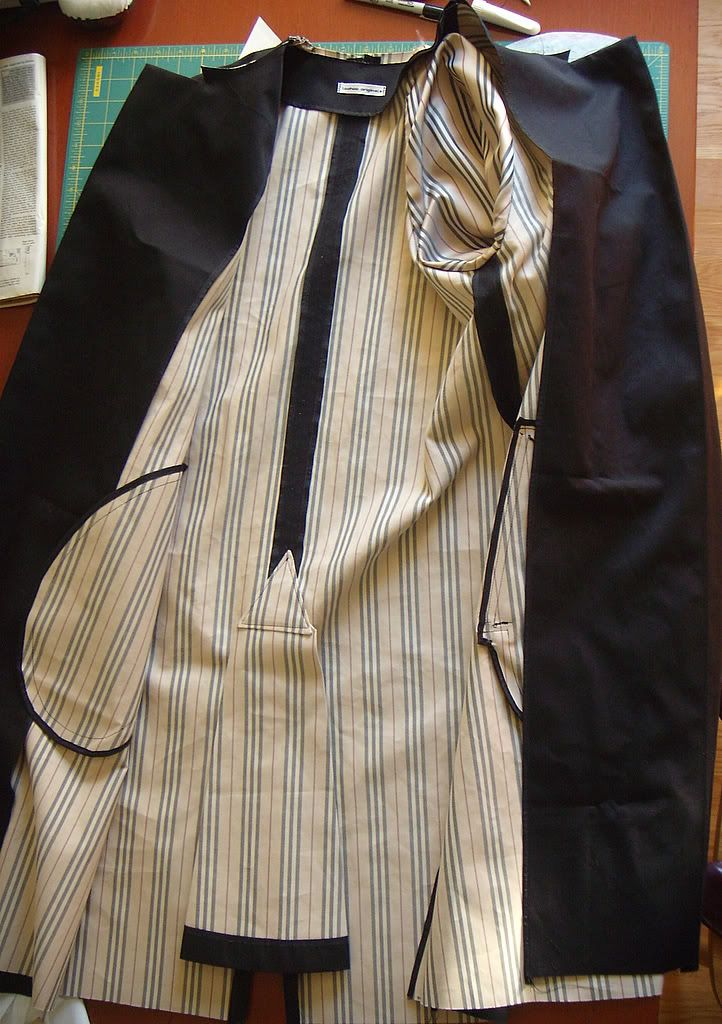
For my first coat, I'm thrilled with how it looks so far. I chose to line only the sleeves, and I'm really pleased with the overall weight. The fabric was a dream to sew, it didn't slip hardly at all, even on the long seams, and the seams pressed nicely. It shines from the iron, so be sure to use a press cloth. It looks fabulous with topstiching, and even the single welt pockets under the flaps came out nicely.
I used the stripe side for the undercollar, underside of the front flap, underside of the sleeve tabs, and underside of the pocket flaps. It still needs buttons, hems, a buckle, attach the collar, belt loops, and some more topstiching. I got as far as handsewing the sleeve linings to the armholes, then realized I forgot to topstitch the armhole seams. Grrrrrr!! I couldn't face ripping out the linings, so I set it aside for now. This fabric is way too dense for hand topstiching, my fingers would be bleeding by the time I was done. I used a microtex 90/14 needle for all the construction, I got skipped stiches with a microtex 70/10. An 80/12 probably would have worked too but I didn't have any in my stash. As it was I'm already on my 2nd needle, it needs to be sharp to get through this fabric.
Since I haven't made a coat before, I'm not sure if the pattern would be considered a good one or not. The lining pieces are exactly the same as the body pieces, only with lines marked to stop at the neckline facing. If I hadn't read about adjusting the lining at the armholes (less height needed when not going over the shoulder pad, and adding fabric at the underarm), it wouldn't lay as nicely as it does. There is no separate undercollar piece. If I hadn't had experience with shirtmaking my collar would look terrible. I cut the undercollar smaller, and used the shaping techniques I've used before on the collar and collar band. I also made adjustments to the facings, to account for the turn-of-the-cloth when understiching. None of these things were mentioned in the BWOF instructions, but then again they are pretty brief anyways.
I have some sewing for hire to finish before I can pick up this coat again, but I hope it won't be too long before I can post the finished product!